WANT LONG BEAUTIFUL HAIR?
Here is where to start.
There are many different options when it comes to Hair Extension Methods.
Here is a quick run down of what to expect.
First things to consider.
When choosing your extensions, its very important to understand your hair.
1. Your hair - Length, Texture, Strength, Condition
2. Weight you require
3. Length you require
Making the right choice for your hair is your main priority, to ensure you don't lose the integrity of your hair which will result in damage.
Obviously this is reference for the DIY User. I always suggest to consult a professional if you are unsure or is your first time using extensions.
Doing Extensions yourself can be done but does come at risk of incorrect installation which can cause damage or discomfort when incorrectly applied.
-------------------------------------------------------------------------------------------------------------
Choosing your METHOD.
WEAVE:
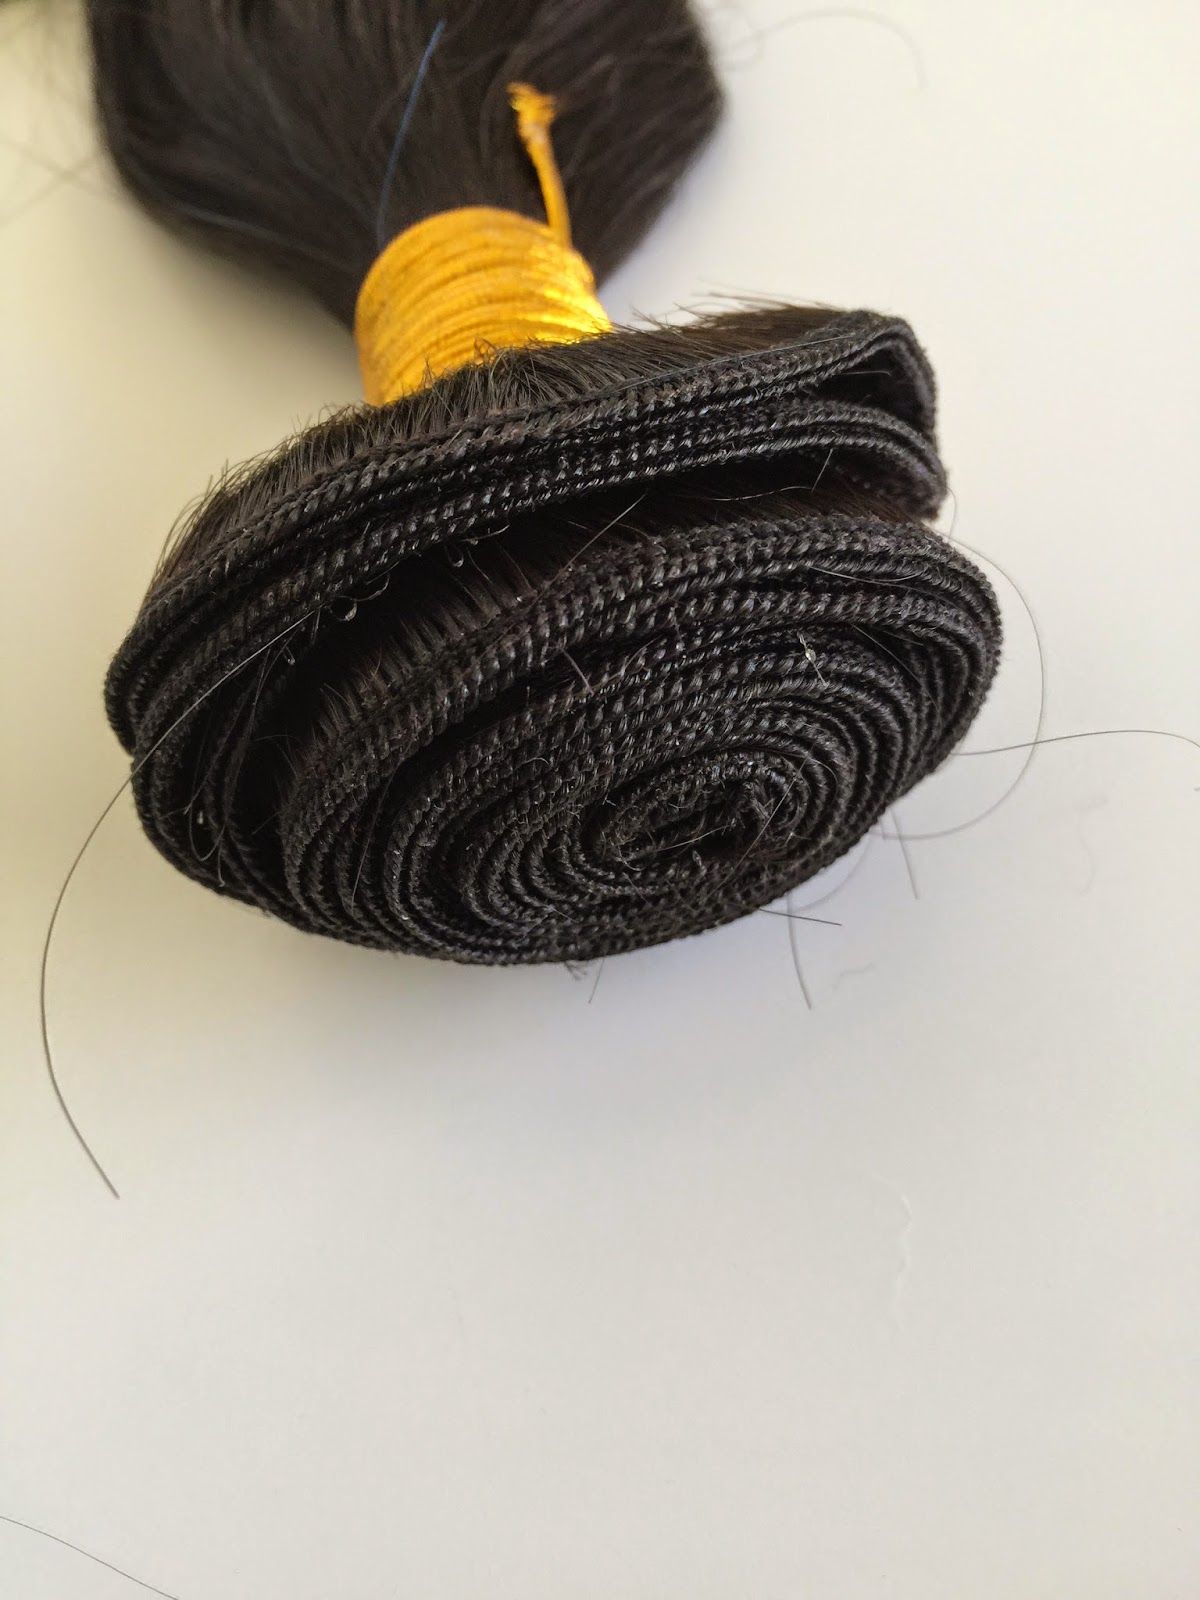
ROGUE EXTENSIONS Weave
A weave is a machine made extension weft used for either a partial or full weave application.
Generally this weft is the base for other methods. Example, Clipin or Beaded weft.
There are a few options for how weaves from installed.
1. Sew in using cornrow:
Natural hair
is braided into a cornrow. A weft (weave) of hair is then sewn
onto that corn row with a needle and thread. This thread is usually an Extension Cotton or a synthetic fiber.
Pros
- Good for medium to thick hair.
- Weaves volume and length.
Cons
- Braid/Cornrow - If made too tightly they can cause discomfort to scalp
- Fine or Thin hair may not be able to conceal the weave track
- If the weft weight is too heavy, it can cause hair to fall out.
2. Braidless Sew in using Linkies:
This is a relatively new technique, where the Extenionist creates a track of Micro Bead Linkies.
Using this track as a replacement to the cornrow, while still sewing the weft to the hair using needle & tread.
3. Non Sew using linkies:
This technique is using the clients hair & linkies to hold the weft in place.Leaving the micro bead to attach the weft rather than thread.
There are a few different way to do this application also. Here is one way. 1. The clients hair section is divided into three strands 2. Middle Strand goes under weft3. All 3 strands are
joined and pulled though a Micro bead link4. Attached to scalp & clamped.5. Repeat to create weave track
PRO & CON FOR BOTH -- Braidless & No Sew
Pros
- No Corn row resulting in less stress to scalp
- Link Track is flatter to the head
- Durable & Quick application method
- No glue required
Cons
- Will required experienced hands
- Weaves have more weight being focused to that track of hair rather than distributed over various strands over the head
- Can slip but easy to re apply
-------------------------------------------------------------------------------------------------------------
BEADED WEFT
ROGUE EXTENSIONS Beaded Weft
A beaded weft uses pre-bonded micro bead linkies which are attached directly to the weft, making it easy to apply and remove.
The base product of a Beaded Weft is created using the machine made Weave above.
Pros
- New, Fast, Affordable, Safe, Comfortable
- No heat, No glue, No sewing or braiding
Cons
- Can be heavy
- Not recommended for very fine hair - Harder to conceal
- Please note. Your micro bead linkies MUST have a silicone liner to prevent damage.
Please note the google image below which appears to have either a very fine liner or no liner at all. Ultimately leaving metal to hair which will cause breakage from cutting into the hair.
Google Image
-------------------------------------------------------------------------------------------------------------
CLIPIN
10 pcs Clipin Extension set
The base product of a Clip In Extension again is created using the machine made Weave above.
The Clipin Extension is the only temporary method.
Using Clipins thats are sewed to the weft.
Pros
- No damage
- No cost to install yourself easily
- Instant change from day to day
Cons
- Harder to style hair
- Risk of falling out during the day or need adjusting
-------------------------------------------------------------------------------------------------------------
TAPE HAIR EXTENSIONS:
Tape has taken the world by storm!
Not to say that Tape Extensions is right for everyone
Again there are sooo many options for Tape alone.
With Tape Extensions they usually fall out over time, so usually you will find that the extension starts to peel from about 1 week forward.
Because this method is a large extension method it will become more noticeable once the extensions start to peel.
Always have a spare application of Tape on hand to reapply these bonds.
Please note - Using a liquid gold bonding adhesive will give the Tape longevity.
Here is my prior blog post regarding Tape Options which will help with all Tape related information.
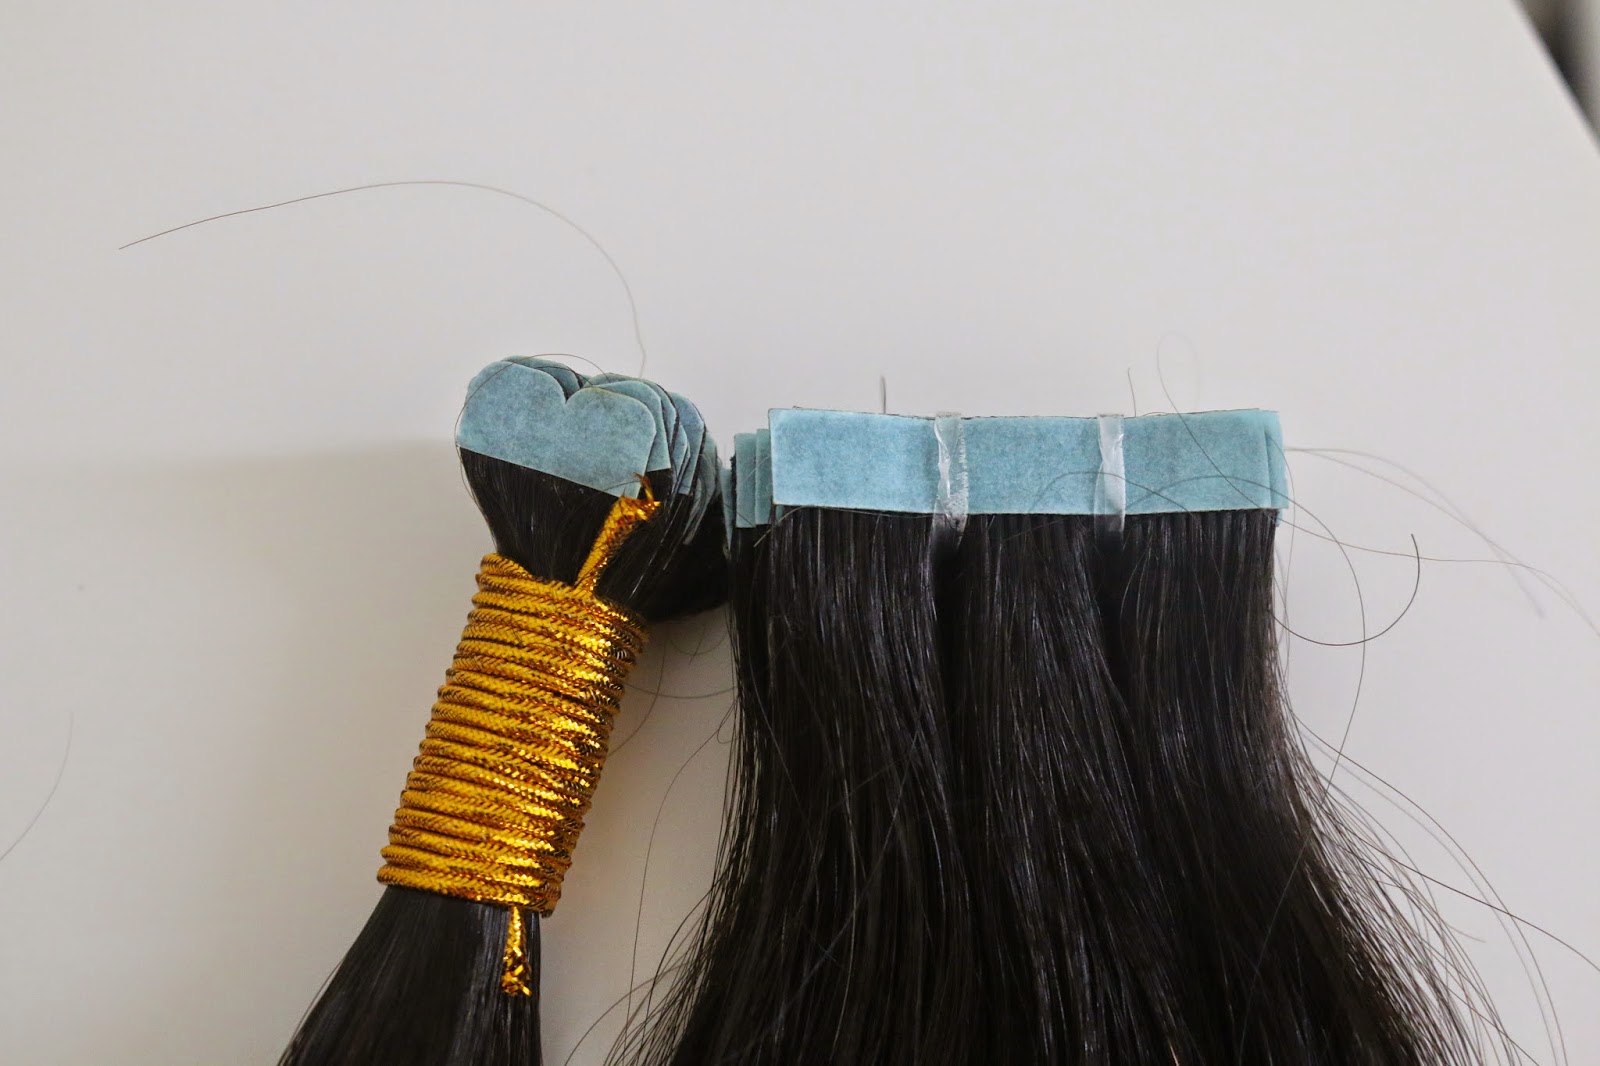
PU TAPE:
A PU Tape method adhesive is extremely durable. Pu Tape uses a glue bonding agent for strong hold.
Being 100% waterproof it is very strong so careful installation
will be required as it will cause damage if done incorrectly.
Pros
- Tape is long lasting
- Easy to use method
- Option for DIY Tape users
- Easy application method
- Great for fine haired people
Cons
- Lasts 3 months before needing to top up hair volume
- Hard to be created correctly
- More prone to shedding in later months
- Can damage hair
- Bonds are extremely sticky
SKIN MESH TAPE:
A machine
creates the mesh bond by sewing the hair to the mesh bond then tape adhesive is placed over the mesh to create the final result.
This method of Tape is definitely the option to choose if you are looking to reuse your extensions for many months after.
Pros
- No shedding
- Well made
- Holds thick haired sets amazing
- Durable - longevity
- Great for thick haired people
Cons
- Bulky
- Harder to blend, less flexibility
- Can easily lose the integrity of the glue/tape. (Multiple reasons why this could be, shampoo, toners, conditioners, oil based products etc)
MICRO (NANO) TAPE:
ROGUE EXTENSIONS Nano Tape
This Tape Method is going to take the Extension world to a whole new level!
I am so excited about this model of Tape.
This is a Rogue Hair Extension Micro nano Tape.
Folding the 2cm x 0.8cm in half to apply creates a seamless finish.
Used with a liquid gold bonding agent for maximum hold.
Pros
- Movement. This small Tape creates movement that standard Tape doesnt allow
- Perfect for fine hair
- Easy concealable
Cons
- Can cause damage with glue adhesive
TAPE DIFFERENCES:
Nano Tape vs Standard Tape Length
Pu Tape Vs Skin Weft tape
-------------------------------------------------------------------------------------------------------------
BEADS HAIR EXTENSIONS:
This method of Semi Permanent Hair Extensions technique that is a preferred method for most users.
A great option for those who want to try a semi-permanent method without
the possible damage that Tape or glue based fusion methods can have on
the inexperienced.
Here is my prior blog post regarding Beads which will help with all Bead related information.
These particular extension go by many different names.
Commonly Micro Loop, Micro Bead or Bead Extensions are to name a few.
Ultimately
they are a non-adhesive technique where a technician applying the bead
bonds close to the scalp with a clamped bead bond.
They are approx 0.5 -1 gram per stand.
Half Head = 50 - 75 Strands
A full head = 100 -150 Strands
Full Head & Half = 150 -200 Strands
A Micro Loop is the easiest to install as they do come with a treading attachment included to each individual strand.
This treading attachment provides easy application.
Requiring only a pair of Pliers to complete installation!
MICRO BEAD:
ROGUE EXTENSIONS Micro Beads
NANO BEAD:
Google image
-------------------------------------------------------------------------------------------------------------
FUSION HAIR EXTENSIONS:
ITIP:
Google Image
I-Tipped hair Extensions are also known as Shoelace Tips or Cold Fusion.
Application with Micro Bead Rings:
I-Tip Extensions are applied using a pulling threader tool, which pulls hair through a small micro bead ring. The I-Tip is the inserted behind the bead then compressed with the extension pliers. Recommended & popular for people who do not want heat applied to their hair.Clients with average to thick hair texture will benefit from this method.
Application with Keratin glue:
I-Tip extensions can also been used with Keratin Glue to create a hot fusion.
This method is usually very strong hold.
Used with a bead of glue which is then heated with an extension tool to melt & bond the bead of glue to the hair & I-Tip Extension.
UTIP:
U-Tip Hair Extensions
U-tip
hair extensions are hair extensions that are pre-tipped with keratin
and are applied to the client by use of a hot hair extension iron. This
type of hair extension is also called “Fusion.” The shape of the tip
can vary from u-tip to flat tip, depending on the brand. The keratin tip
may need to be trimmed to remove the excess keratin.
The heat from a hair extension iron will not damage the hair, it’s
less hot than a standard curling or flat iron and the hair extension
iron only touches the hair for a few seconds.
909
and 808 hair extensions come in both U-tip and I-Tip. The U-tips are
made of Super Keratip; Super Keratip is the strongest keratin available
today. It is a professional product and because of the hardness if the
keratin, application should only be done by professionals.
To
apply U-tipped extensions the hair needs to be freshly washed with
clarifying shampoo and no conditioner your hands also need to be clean.
Completely melt the keratin with the hair extension iron so the keratin
penetrates the client’s hair, (this a makes for a long lasting bond).
Then roll with fingers-The Super Keratip won’t stick to finger or burn
your fingers like other keratin.
U-Tipped
hair extensions are the most popular extensions for all hair types
because the attachment spot is very small can be customized by cutting
the hair extension to make 2-3 smaller, micro bonds for use with fine
hair.
Pros
- Fusion Method - Longer lasting method, 3-5 months between having to go back for re-installation
- Strong application
- The hair does not mat, shed, or tangle.
- Good for thin/fine hair
- Individual pieces create discrete movement close to the hairline
Cons
- Can cause damage from hot fusion
- Harder to remove
- Can be hard to put hair up as this method can get applied closer to the scalp
- Does require more weight to create volume
- Expensive method
Check out the facebook page for more information.
Thanks so much for reading!
Let me know if you have any questions I can help with!
~~ Jaz